
How to build a Trade
(It's easy!)

Basic Kountable Skills: Building a Trade
Building a trade is a fundamental activity that unlocks many of the most valued features of KLEAR, including collaboration, capital solutions, trade management and business intelligence. Each trade you build will start with a purchase order received from a customer. Building a trade is the simple process of entering the data associated with the purchase order — the parties, dates, activities, and flows of goods and funds involved in turning that purchase order into an account receivable.
“Milestones” are the basic building blocks of a trade. Some trades have only a few milestones and others have many. A trade is initiated by uploading a purchase order and saving it. Trades may be created in draft state and new milestones and documents can be added to a trade as information becomes available.
Building your trade and adding milestones will require that you have your customer and supplier information entered. While you can pause the process of building the trade to enter that info, it might be useful to make sure that the relevant customers and suppliers are already added to your Klear account. You can find instructions for adding customers here and instructions for adding suppliers here.
Here's how to get started:
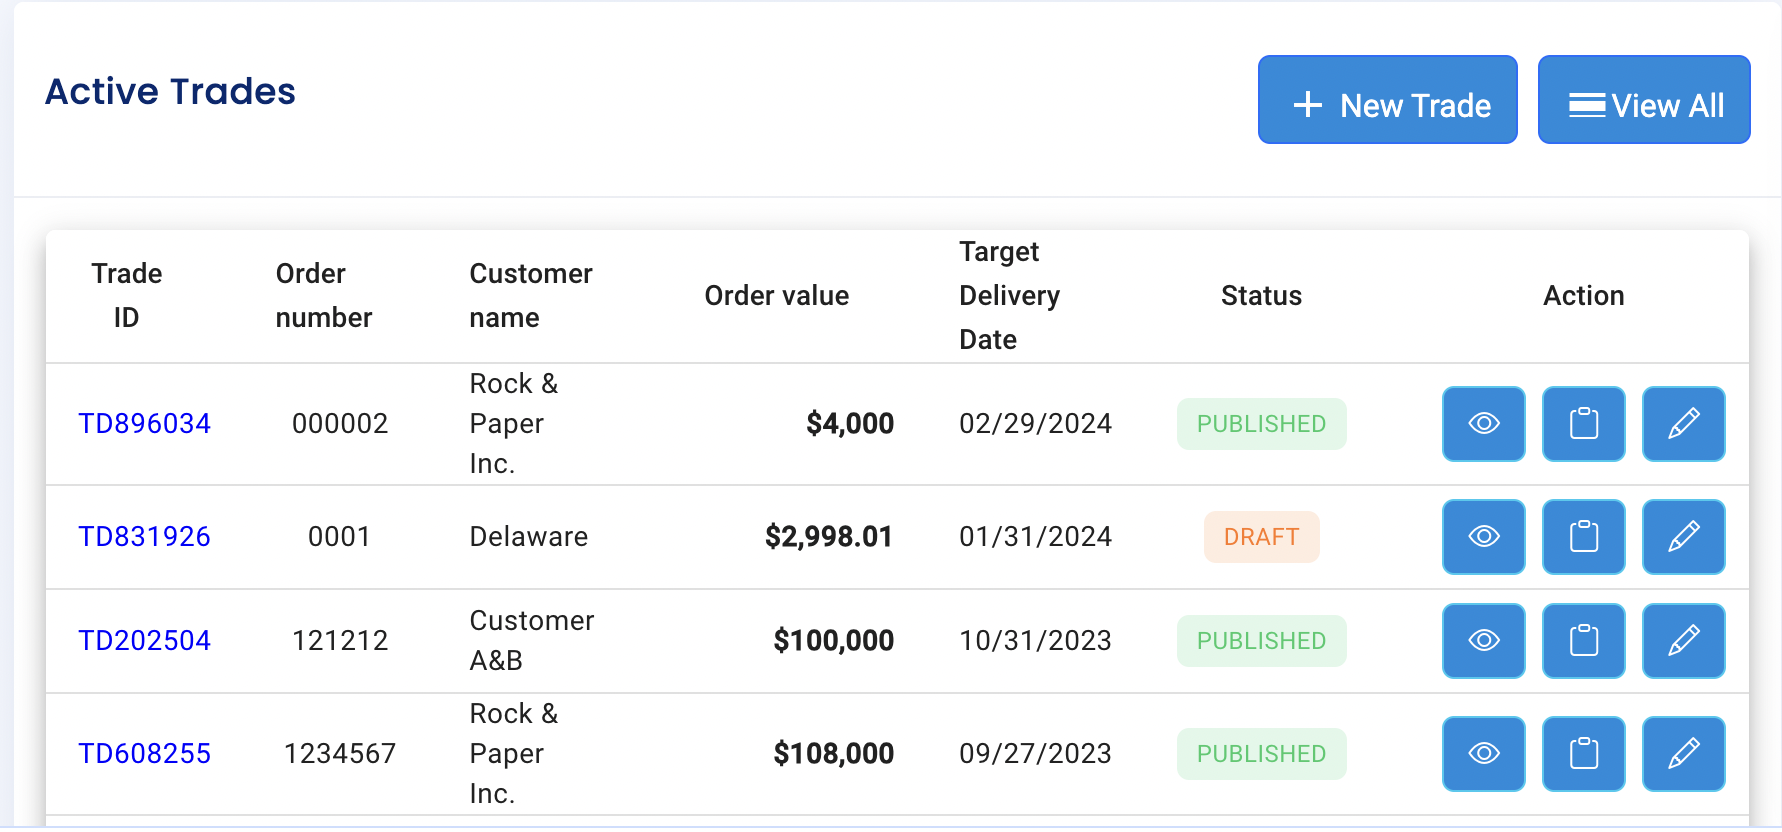
1. Click on the Trades tab. All active trades will appear.
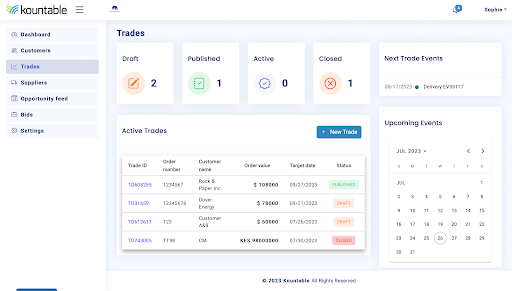
2. To start a new trade, click +New Trade and fill out required information.
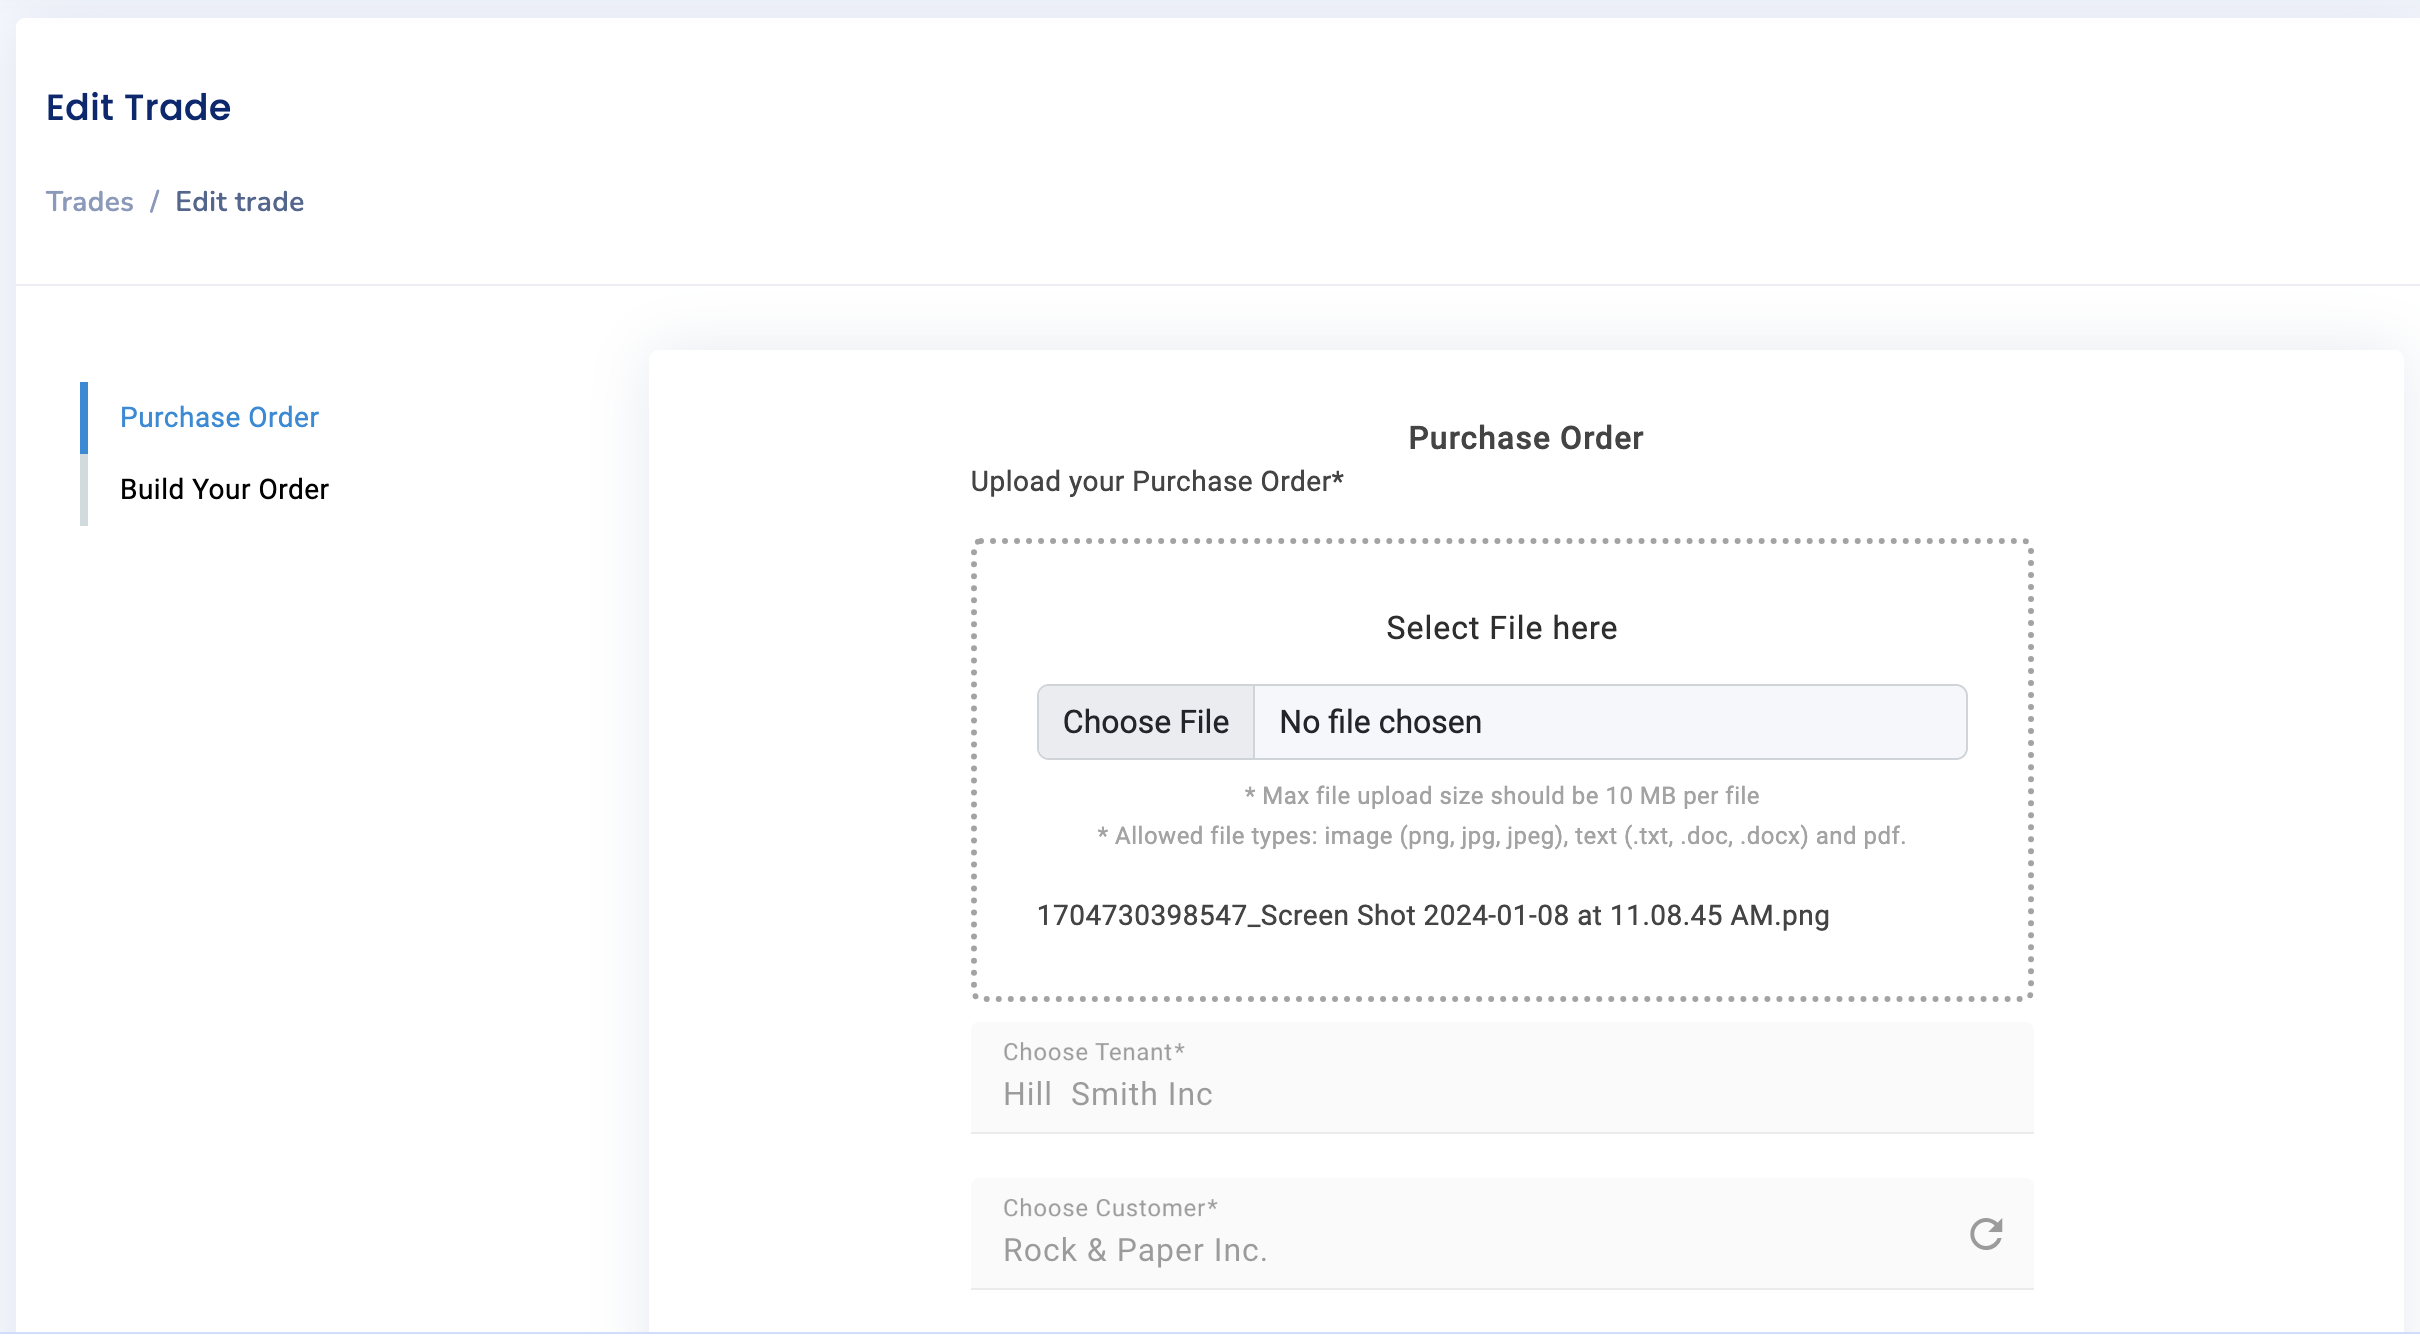
Every trade begins with a Purchase Order issued to you by a customer. Upload the Purchase Order document and enter the following details from it:
- Customer: the customer must be added to your network so it appears in the drop down menu you will select them from in order to create a new trade (click to learn how to add a customer)
- Description: briefly describe what is being purchased by the customer
- Order Number: enter the customer purchase order number
- Issue Date: date purchase order was issued
- Target Date: estimated date of delivery
- Purchase Order Value: enter the total amount quoted to the customer in purchase order and indicate the currency in which it is denominated
- Issuer Contact Email: enter the email of the point of contact at your customer's organization for this purchase order
Next: Add Milestones
Now that you have entered your purchase order, you can build out the project plan for your trade by creating a series of milestones. Trades include both operational and financial milestones. Operational milestones relate to the movement of goods and financial milestones relate to the movement of money.
Every financial milestone is associated with an operational milestone, whether that's your final delivery of goods to the customer or some intermediate manufacturing step. In other words, goods must be moving in some way for you to note the movement of money. One operational milestone can have multiple financial milestones associated with it, with different dates for the financial milestones(for example, if you are paying a supplier in installments after receiving goods).
Because each financial milestone always relates to a specific operational milestone, you may find it easier to create all your operational milestones first as a framework and then add the financial milestones to them.
Operational Milestones: Choose the milestone type that most closely matches the activity you are trying to capture. For anything involving ordering from your suppliers, choose "Manufacturing", for trades involving international shipping as well as in-country shipping by different logistics providers, use "ShippingDelivery" for international, and "InlandShipmentLastMile" for domestic shipping. For customs and tax clearance at borders, choose "Clearance". For final delivery to your customer, choose "Delivery".
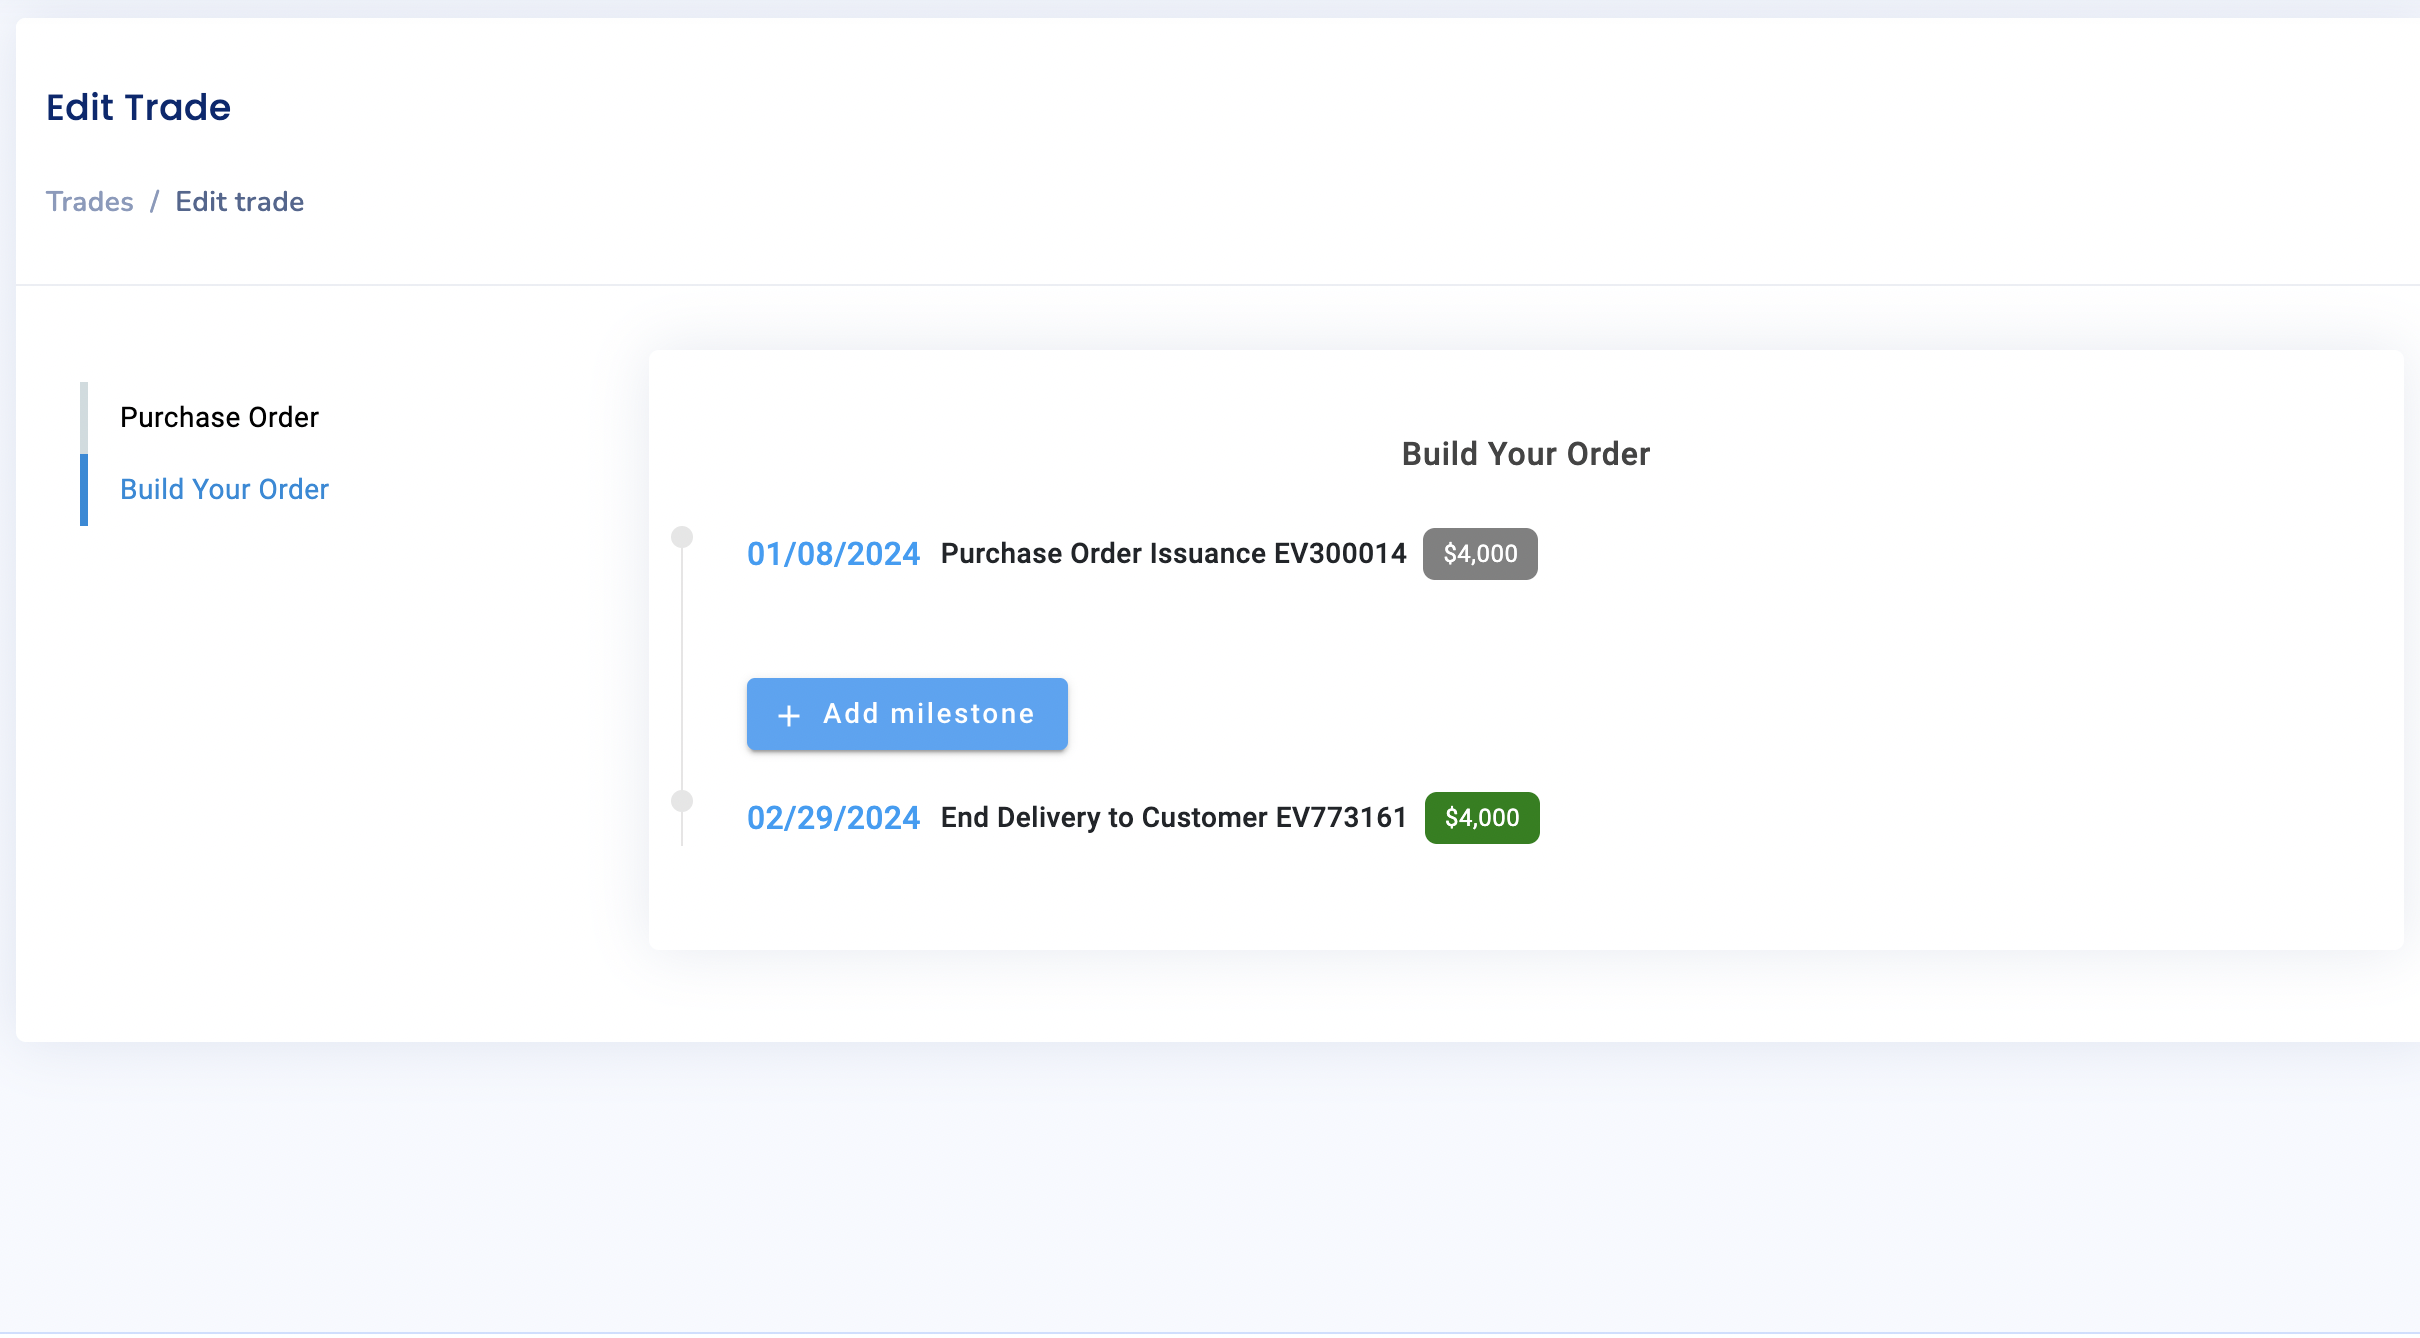
- To edit a Trade, select the pencil icon (the edit button) next to its listing on the Trades page
- To add milestones, navigate to "Build your order"
- Select "Add milestone"
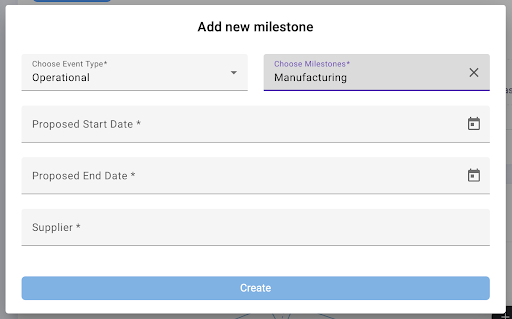
- Select Operational under ‘Choose Event Type’ and then select your first milestone type under ‘Choose Milestone’
- After selecting a milestone, fill out all required fields, choose the relevant supplier from your network from the Supplier drop-down list and click Create. If you don’t see the supplier you’re looking for in the list, you may need to add them to your network using the instructions here. After an operational milestone has been created and saved, it will appear under Trade Activity and its dates will generate notifications on your Trades dashboard and by email to members of your team who are subscribed to email notifications.
Financial Milestones: Choose the milestone type that most closely matches the financial activity you are trying to capture. Select “Invoice” when you are invoicing someone, and select “PaymentSettlement” when you are either paying someone or receiving payment from someone (as in the payment from your customer for your final invoice.)
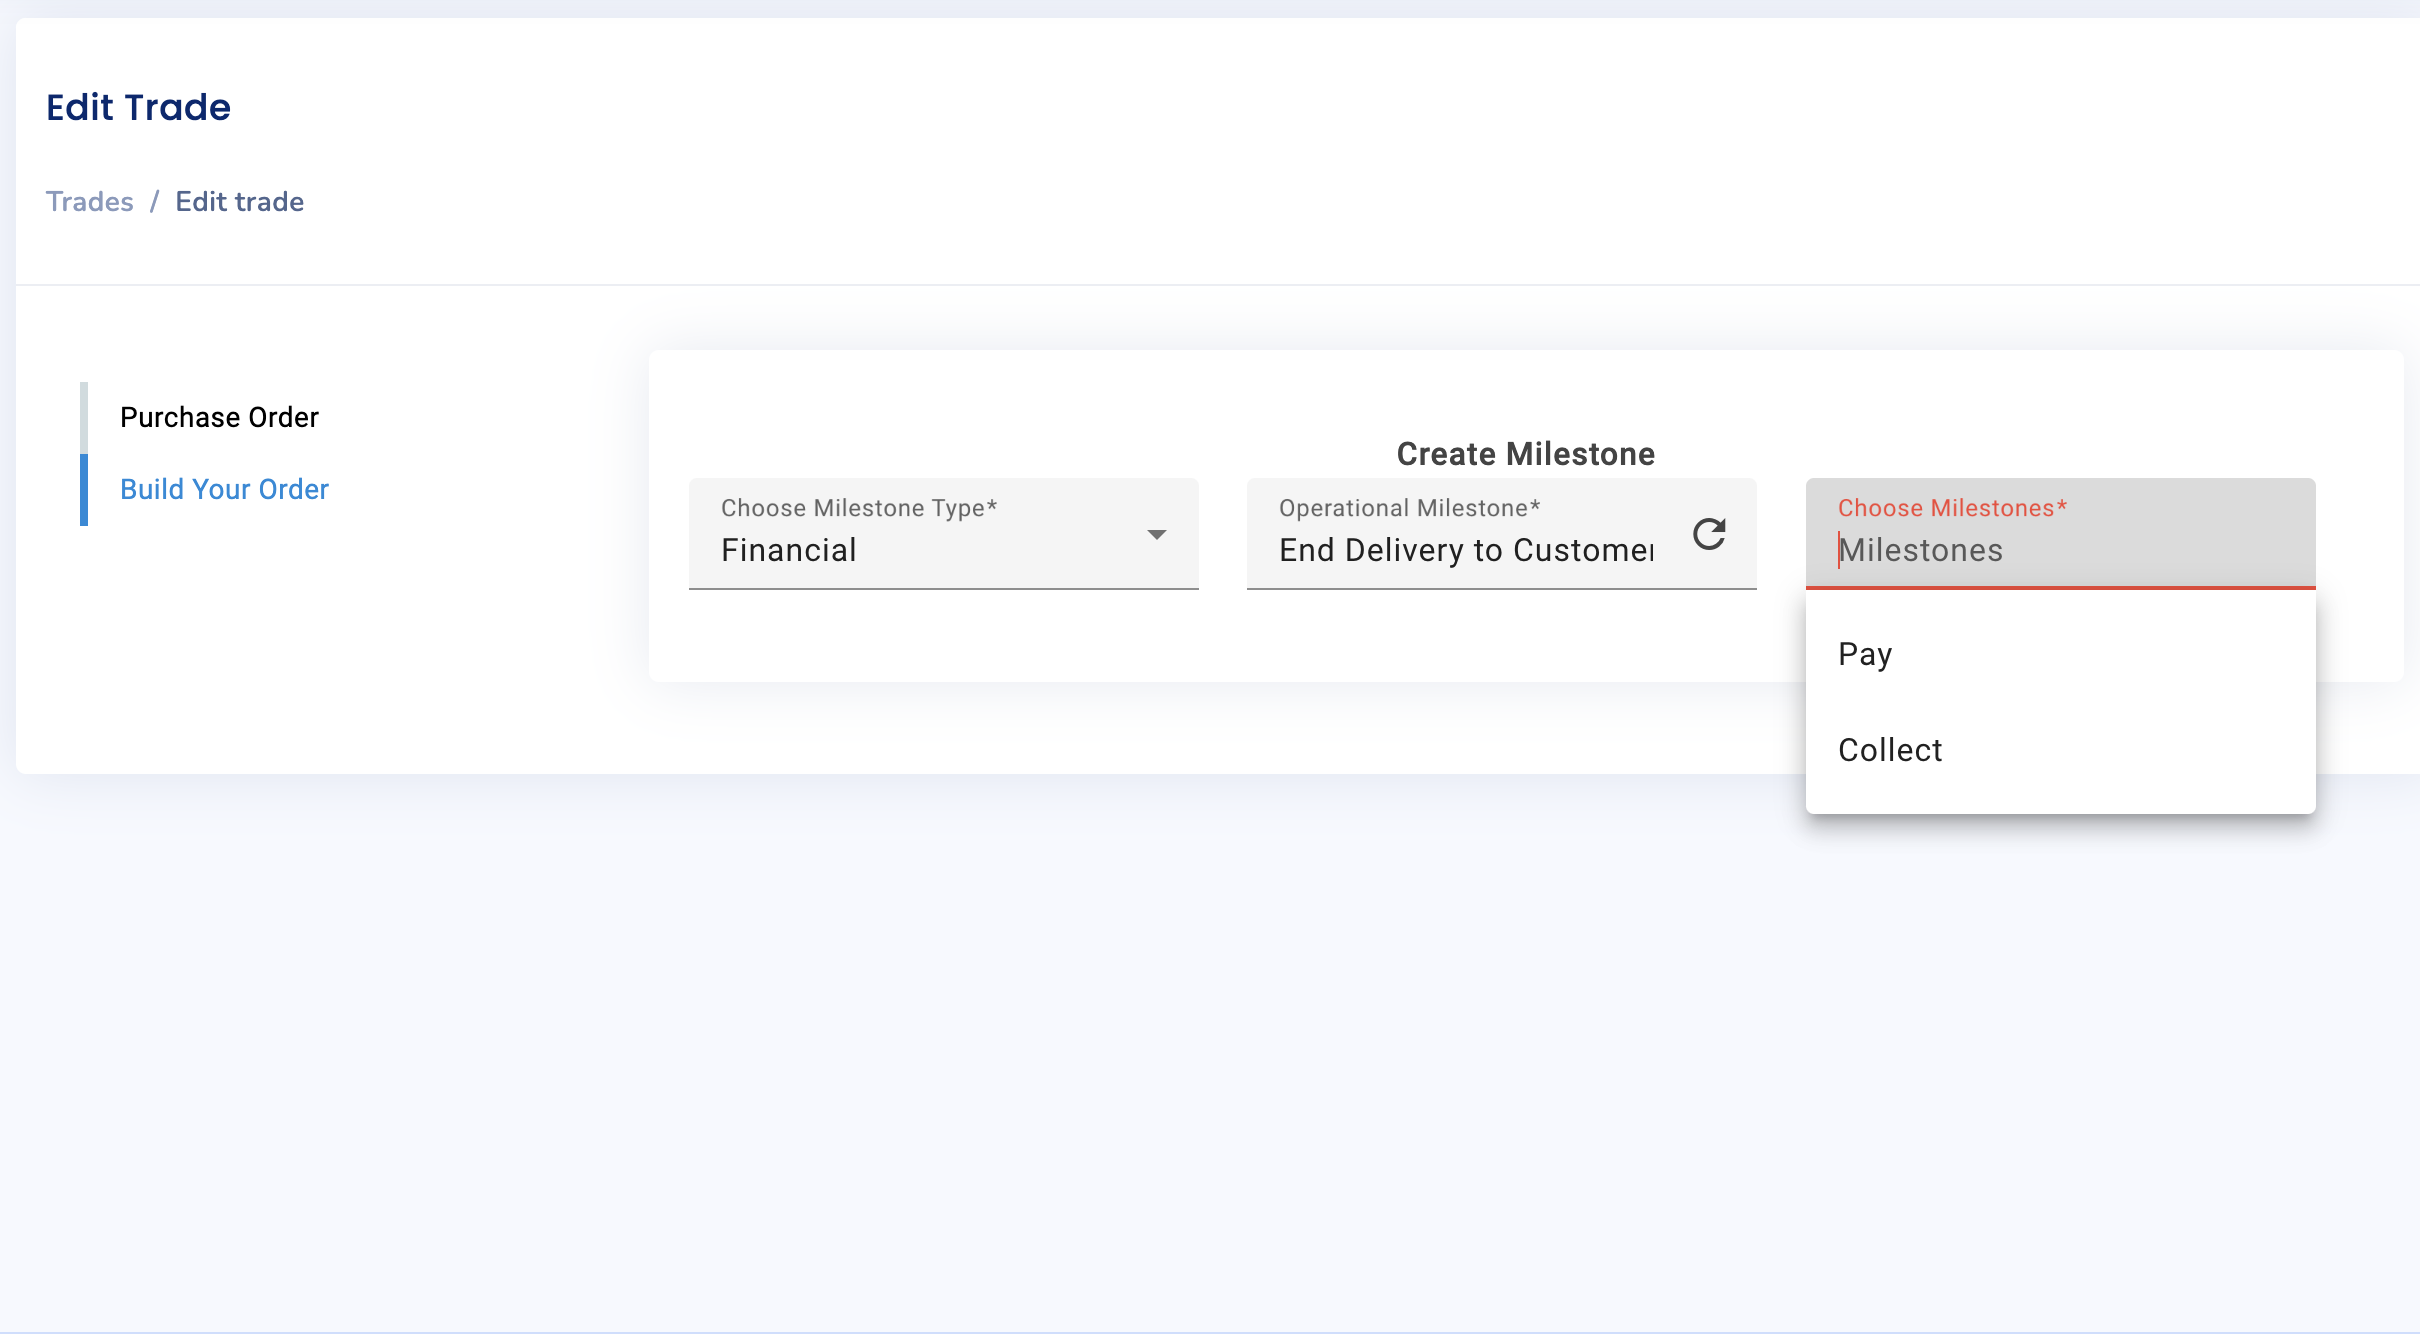
- To add a financial milestone, follow the same process, then select "Financial" instead of "Operational" from the dropdown menu
- Select the operational milestone it corresponds to under ‘Operational Milestone,’ and then select the financial milestone under ‘Choose Milestone’
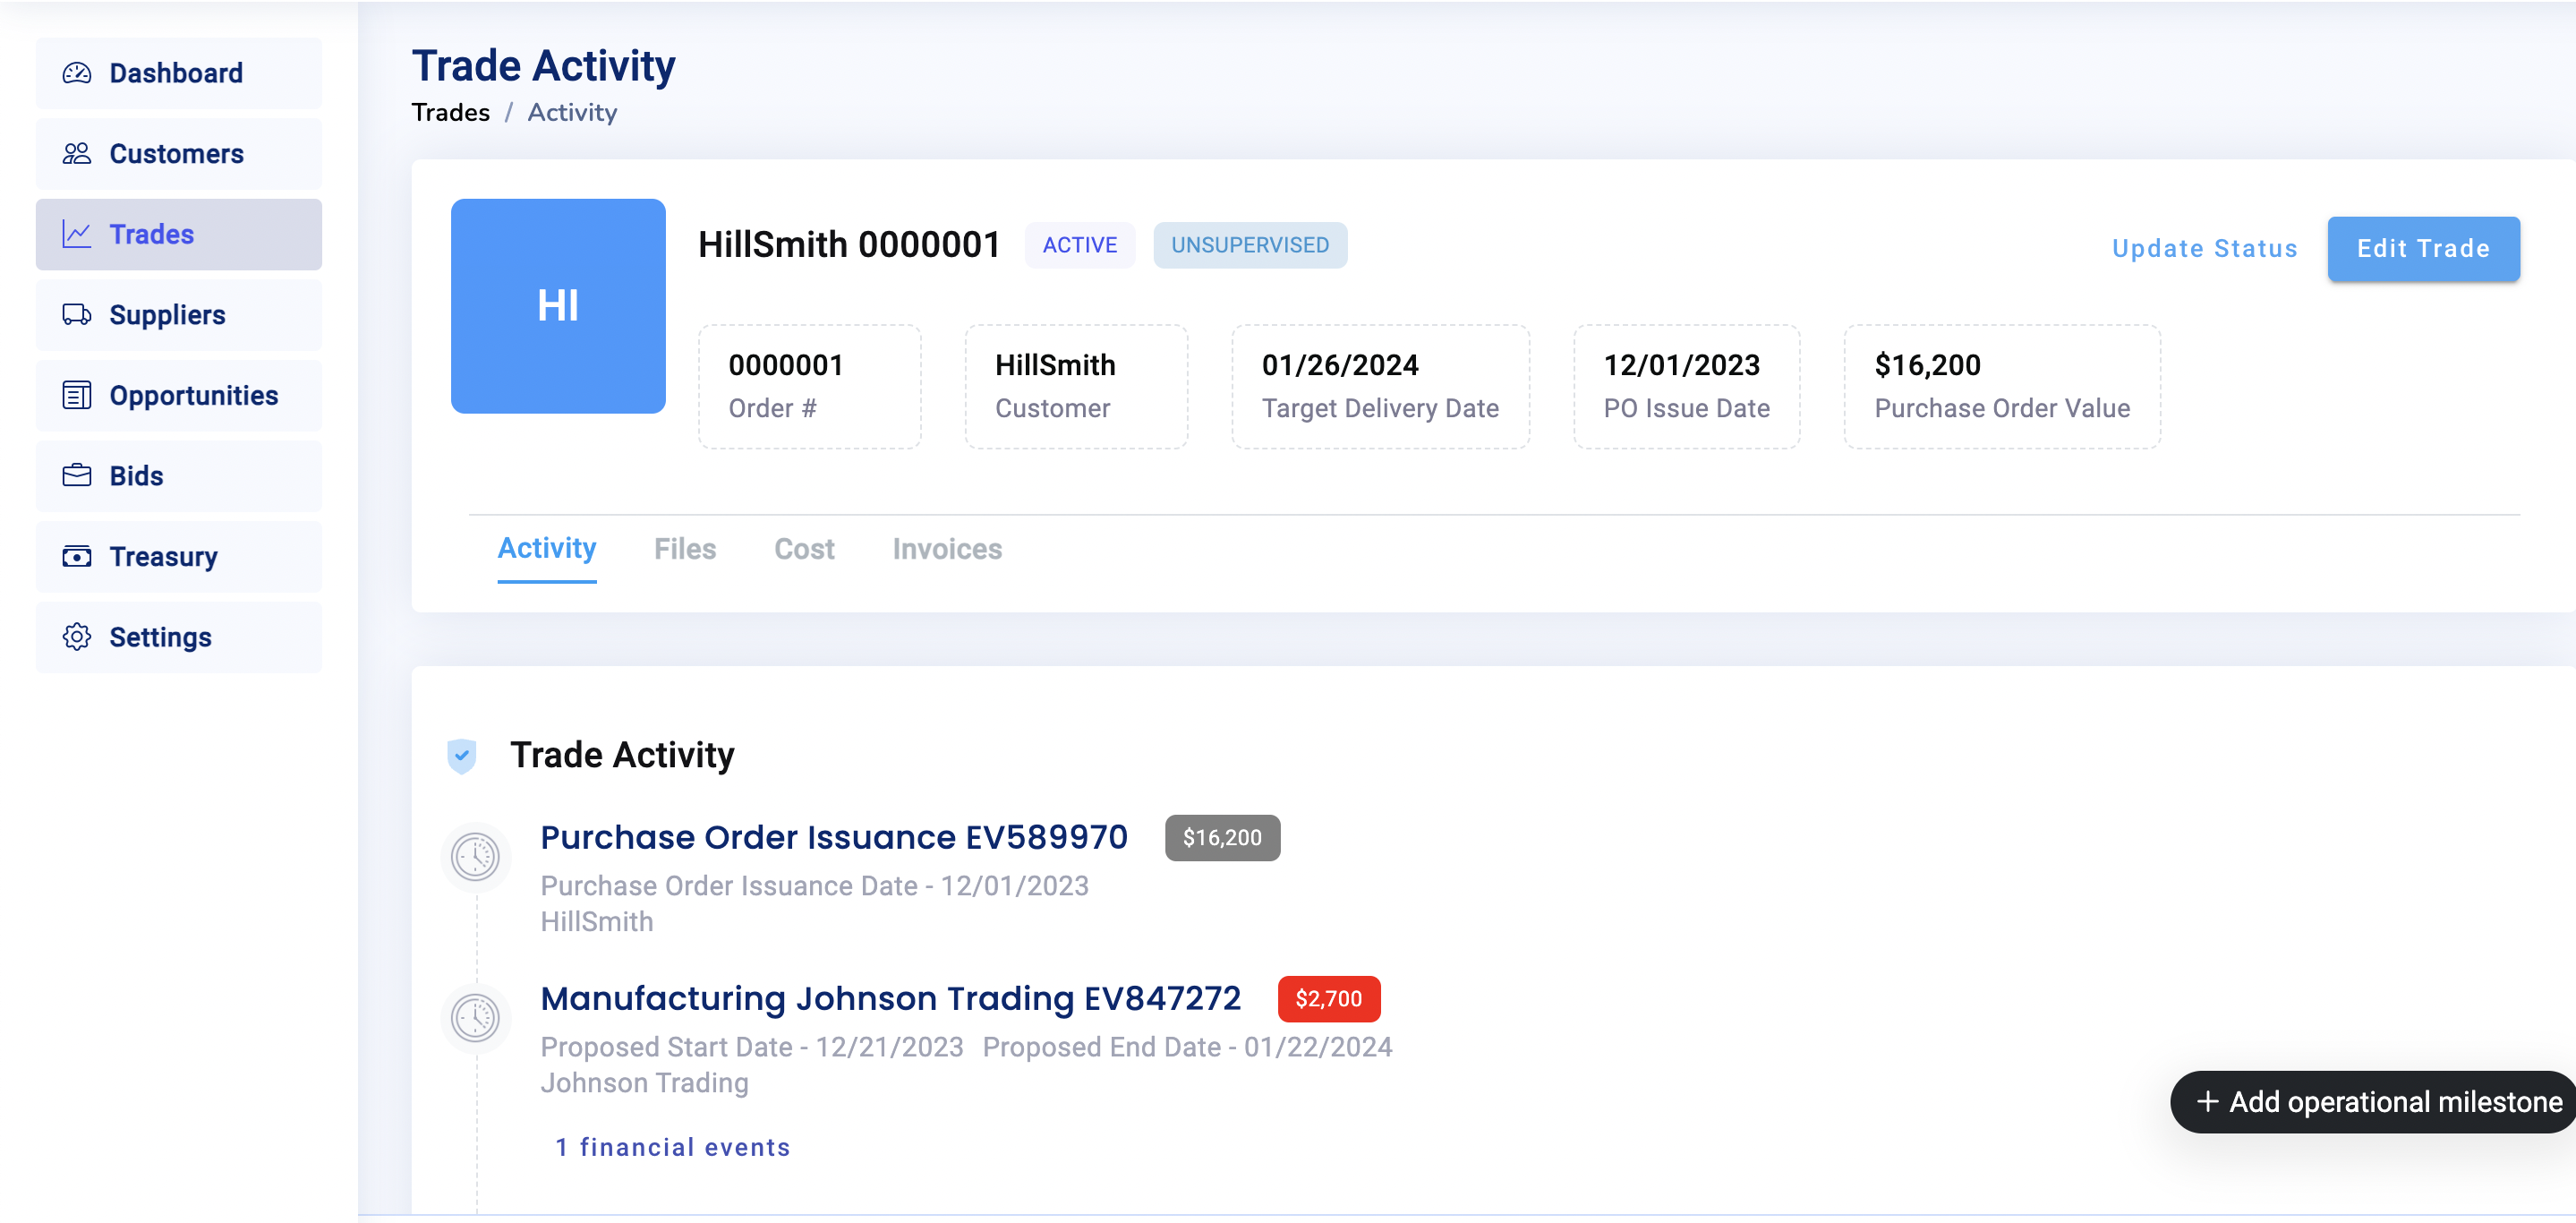
Milestone Updates
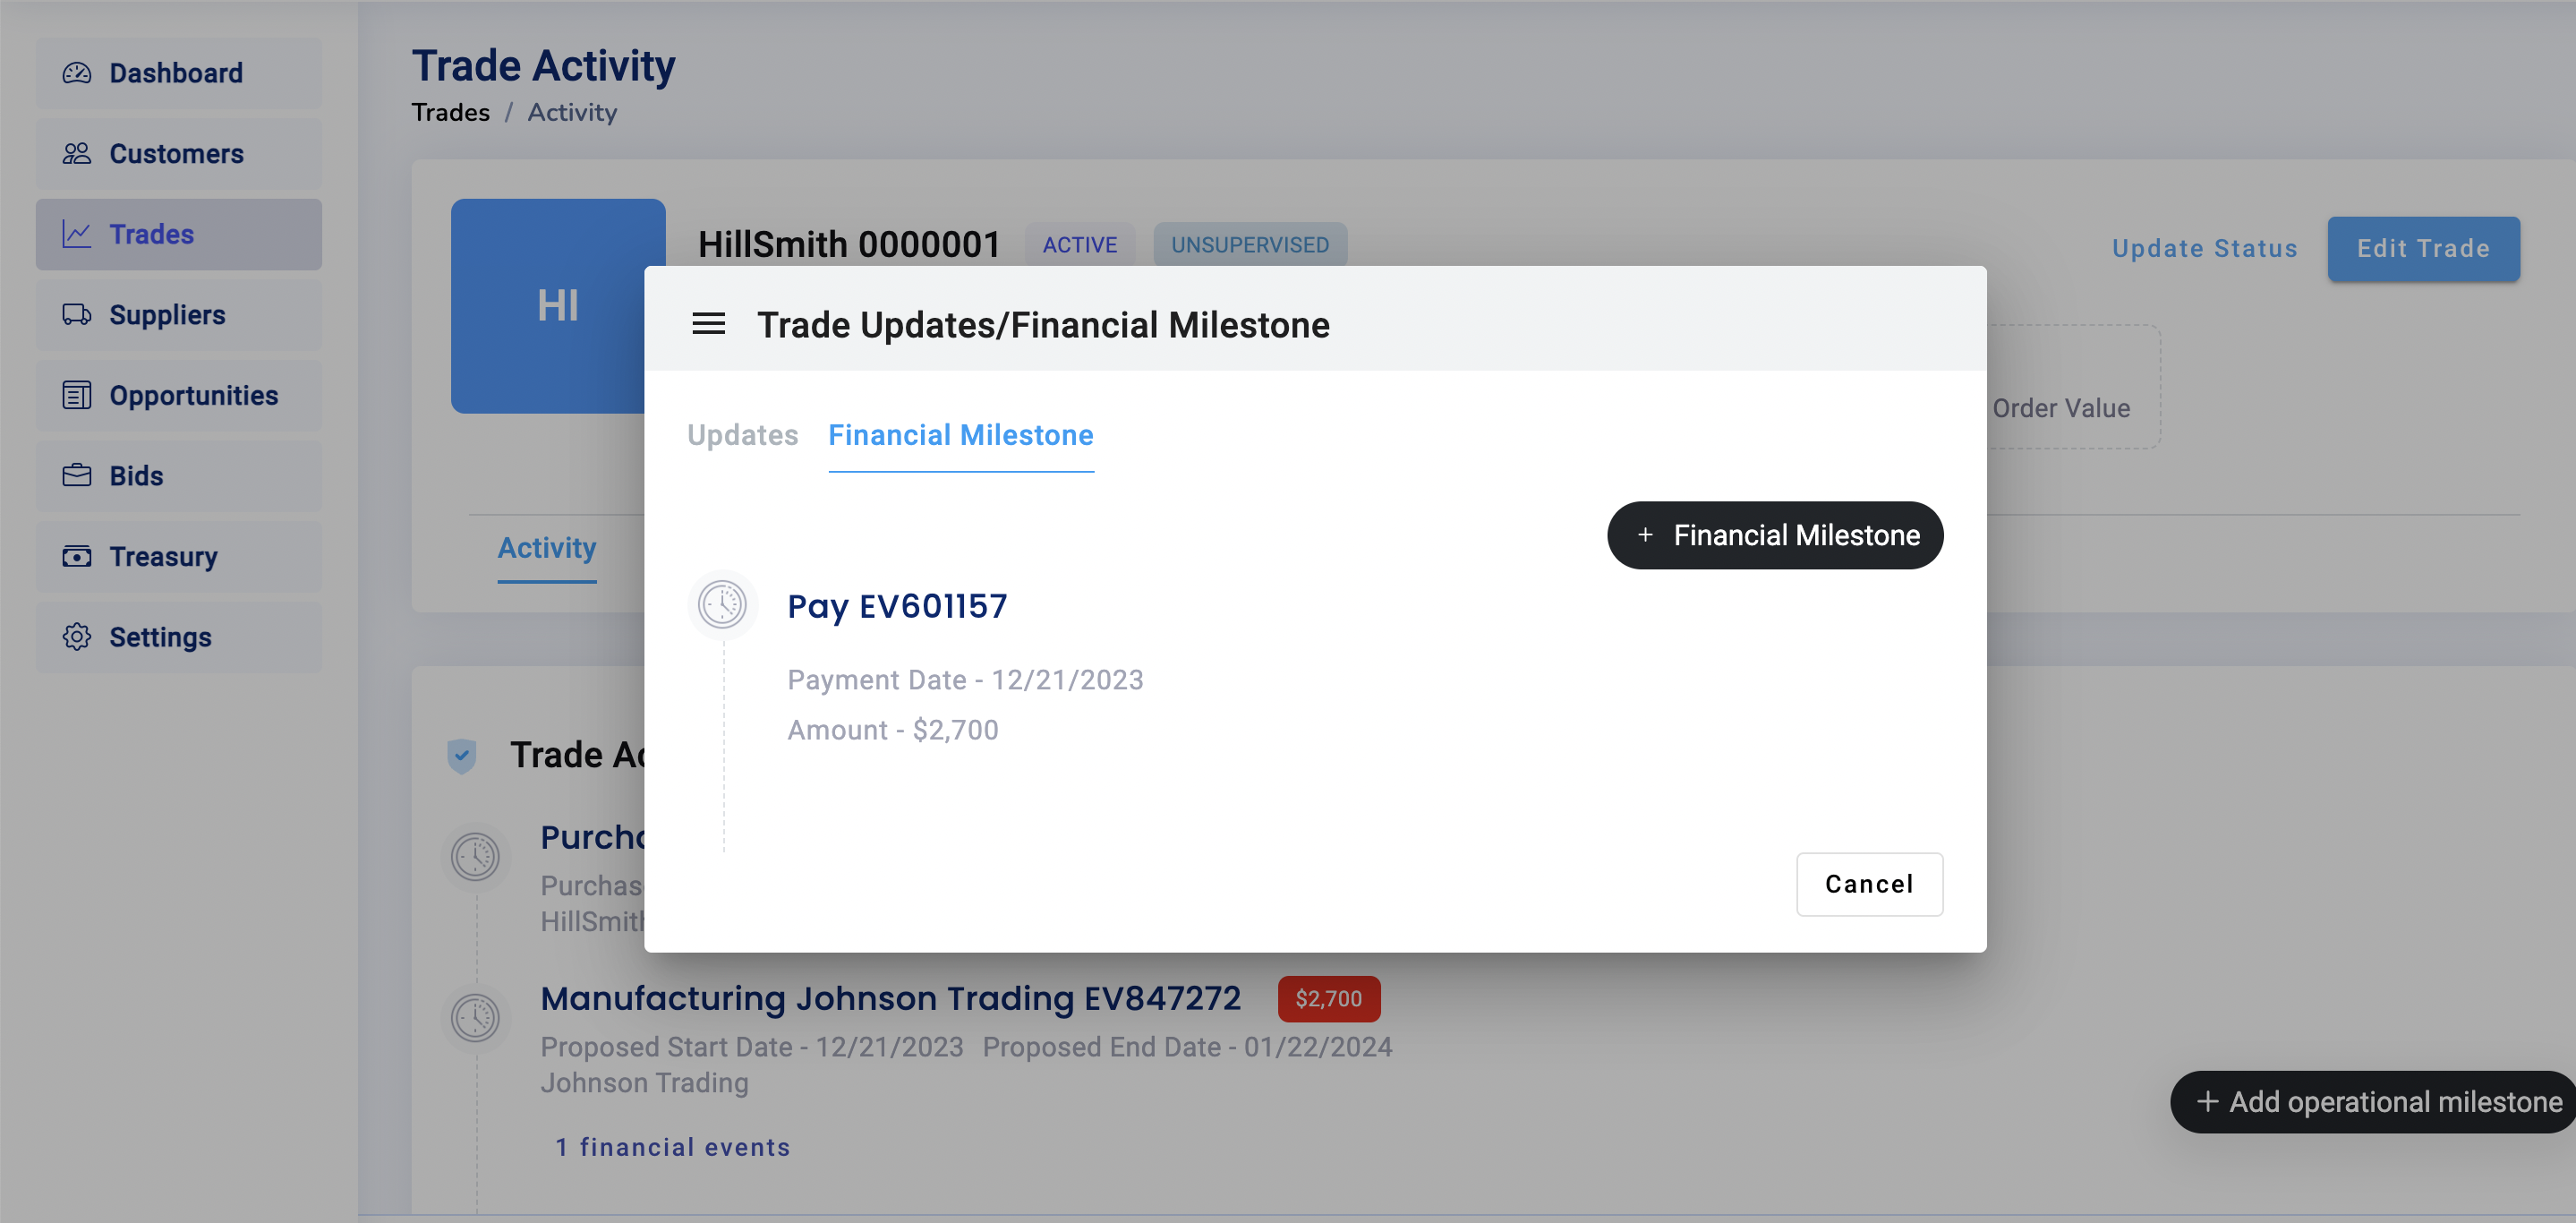
Once your Trade has begun, you can update Milestones to reflect developments. To edit a Milestone, navigate to the Trades tab, then click on the blue Trade ID link of your desired Trade. There, you will see a list of the Trade's Milestones.
Next, click on the title of the Milestone you want to update. You will see this popup window:
Click on "Updates" at the top of the popup, then click "+ Milestone Updates" (see below).
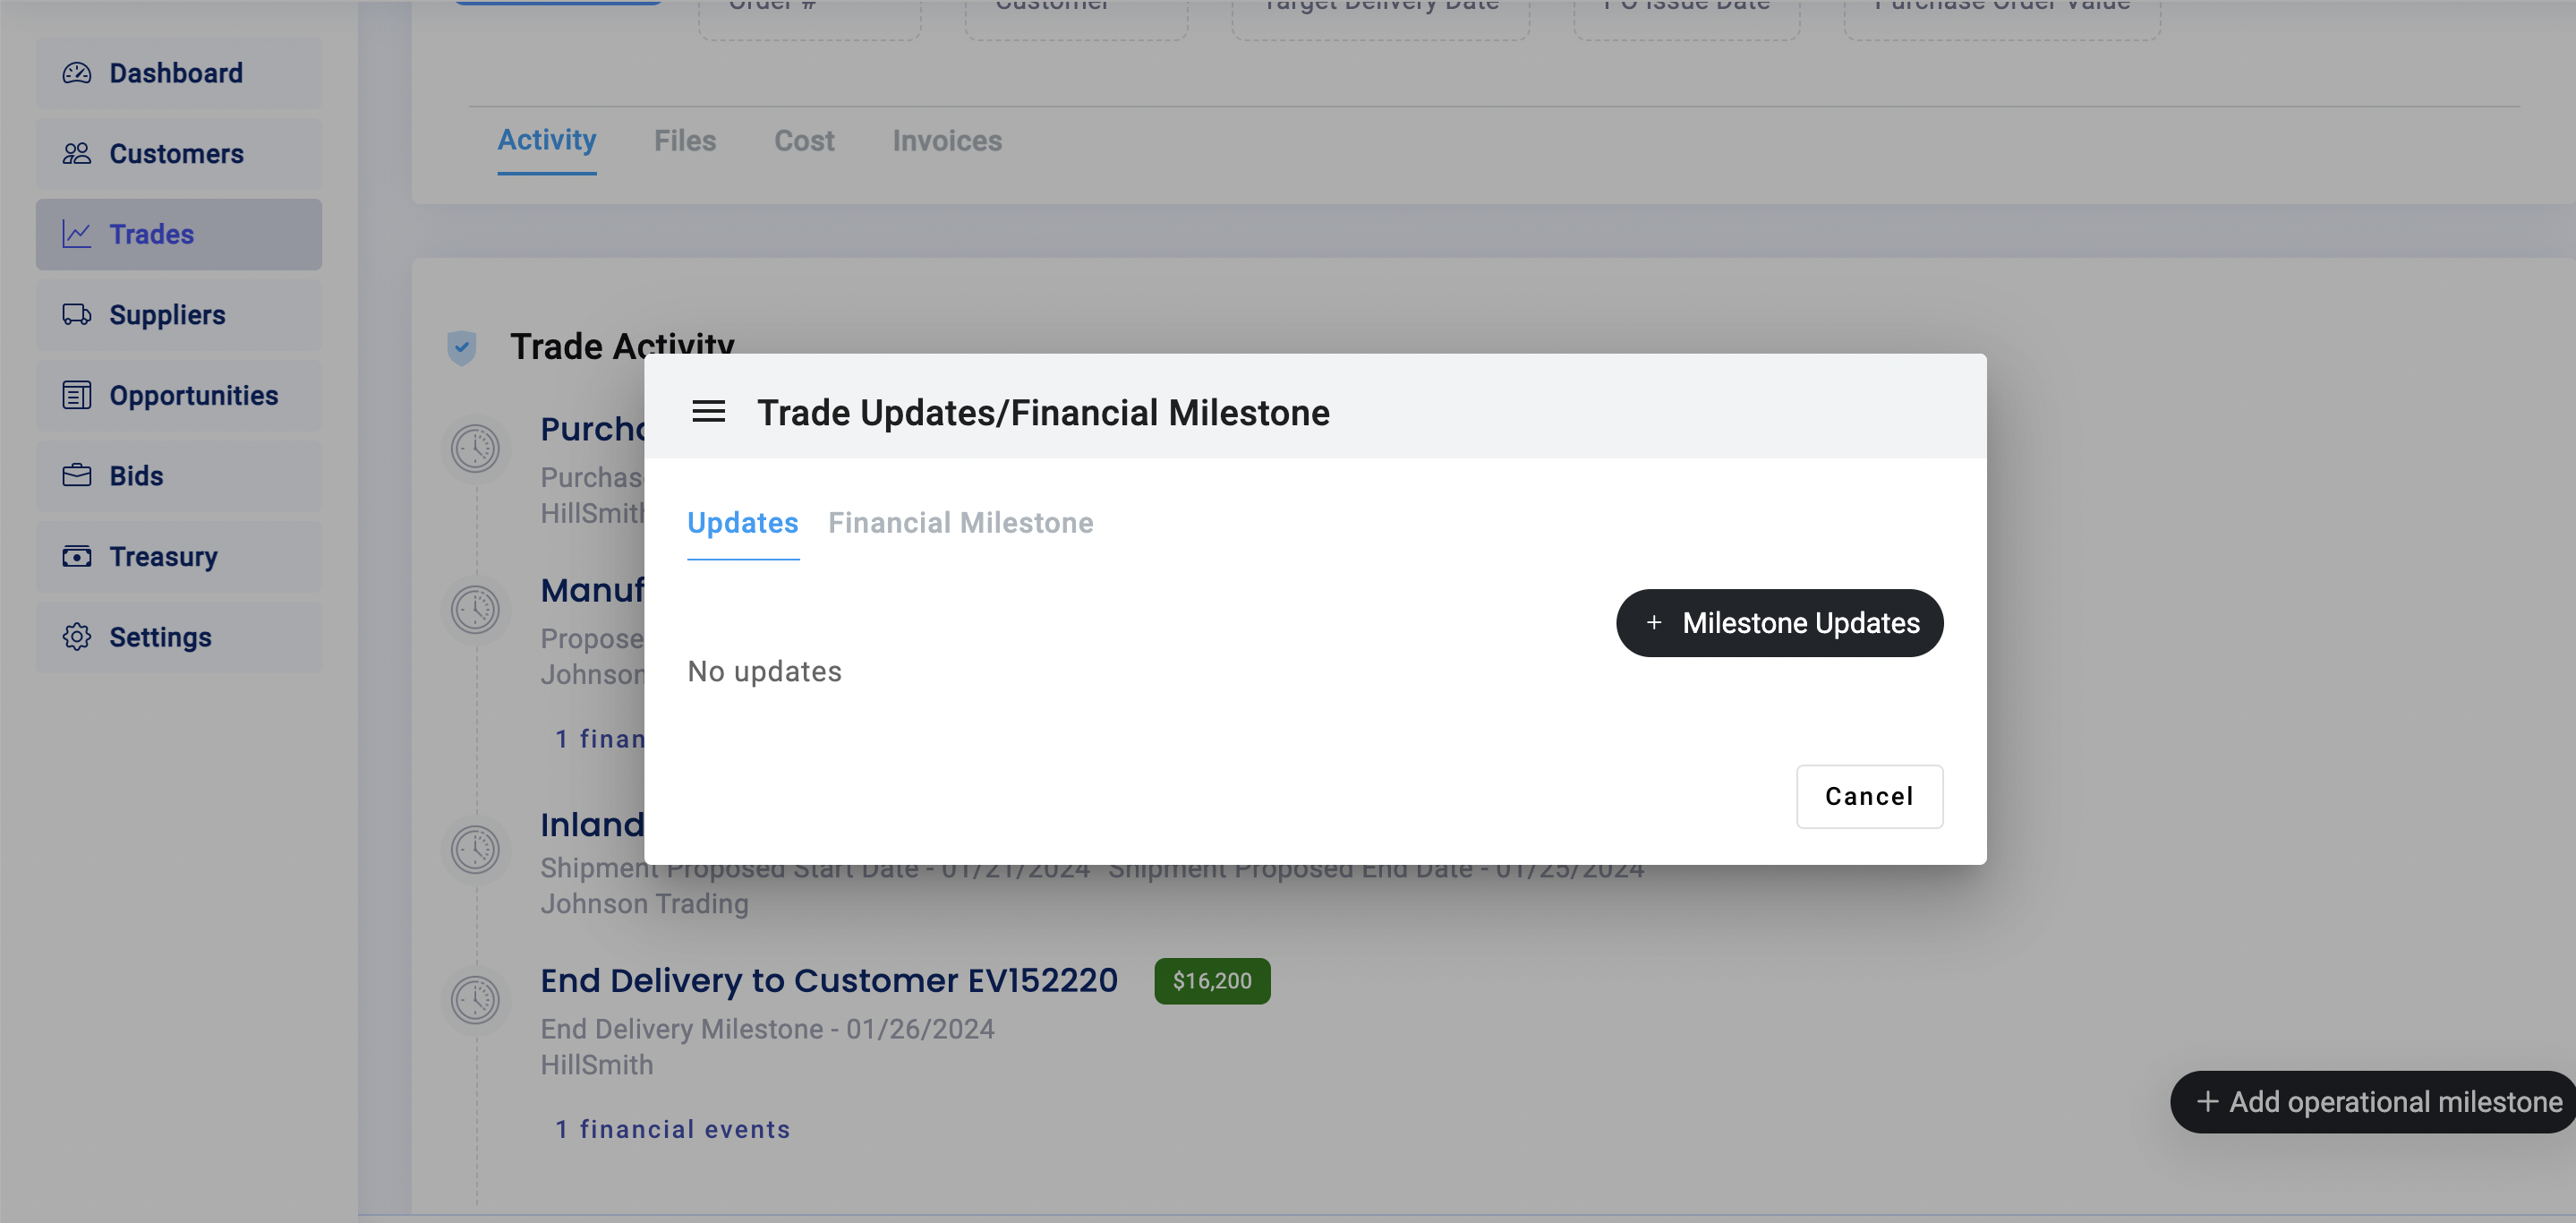
Next, you'll enter the update information:
- Activity Title: title the activity using whatever terminology you use in your business to describe that activity
- Activity Details: details can include any notes you want but commonly include what actually happened, any changes to the plan, or any other notes that you would like to include
- Attach files: attach any files relevant to the milestone. Files can be receipts, proof of various activities, emails, or any communication relevant to the milestone.

All information and attached documentation from the update is accessible under its corresponding milestone and/or by clicking the Files tab.
*If your trade is supervised, a KLEAR team member may request that you upload certain documents as updates in this section. Learn the difference between supervised and unsupervised trades here.